RouteSavvy User Guide – 4.3 – Mobile
RouteSavvy allows you to export any route to a mobile device using two different methods. Both methods are accessible from the “Mobile” button on the Directions tab.
1) RouteSavvy Mobile App: Follow this step if you would like to send the route directly to the RouteSavvy Mobile App, instead of using the link (Method 2).
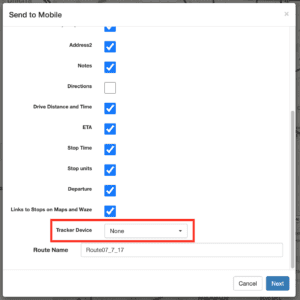
From the Directions tab, press the Mobile button. Scroll to the bottom of the “Send to Mobile” dialog box and click on theTracker Device drop-down menu. This will list the Name and DeviceID of all mobile devices that have been added to the current RouteSavvy Project. Select a device and click Next to send the route to the device.
See this section of the User Guide for more information on adding a mobile device to your Project.
A confirmation message will display to let you know that the route was sent successfully.

2) Mobile Link: Create a mobile-friendly, read-only version of the route with a unique link. You can email or text this link to yourself or drivers. The mobile route can be opened on most mobile devices and you can use Google Maps or Waze mobile apps for turn-by-turn navigation, live traffic, and voice guidance.
First, click on the Mobile button in the Directions tab.
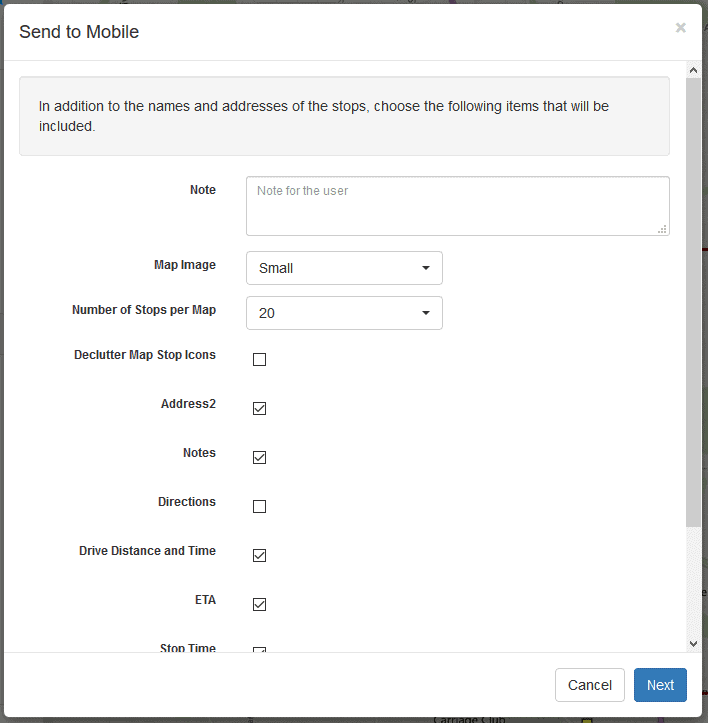
You can customize the data sent to mobile as needed.
Note field – Allows you to include a custom note with your mobile route. This might be driver name, day of the week etc.
Map Image – Map Image is the size of the static map you want to include. Large is good on tablets, while small is better on mobile phones. You may also select “None” to send the route without a preview map.
Number of Stops Per Map – This allows you to customize the number of stops on each static map, e.g. if you have 30 stops in a route, you could select 10 to have RouteSavvy split the route into 3 separate maps for each review.
Declutter Map Stop Icons – Allows the static map icons to be more clearly seen on the map. Useful if there are high-density stops.
Checkboxes for individual route and stop fields – Allows you to choose which fields will be included in the mobile route.
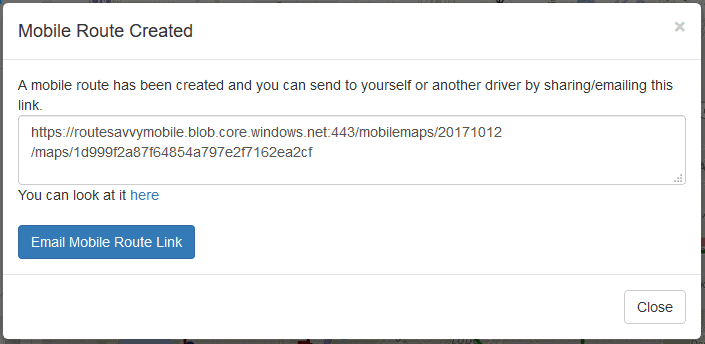
The Next button creates the mobile route, this unique link can be shared or saved. The Email Mobile Route Link button opens a draft email in your default email client. It is fine to send this link via SMS, email, or any other means, using the Email Mobile Route Link button is not required.
Opening the mobile route link on a mobile phone or tablet will display a static map and stop information.

Clicking on the Google or Waze button for each stop opens that stop in Google Maps or Waze app and allow you to start turn-by-turn navigation to that stop.
Google Maps Button
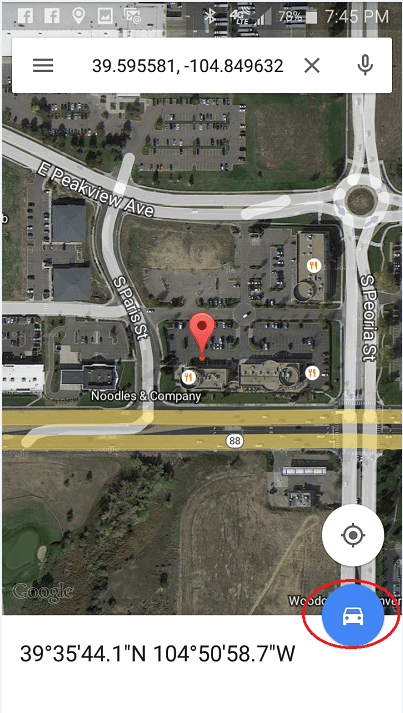
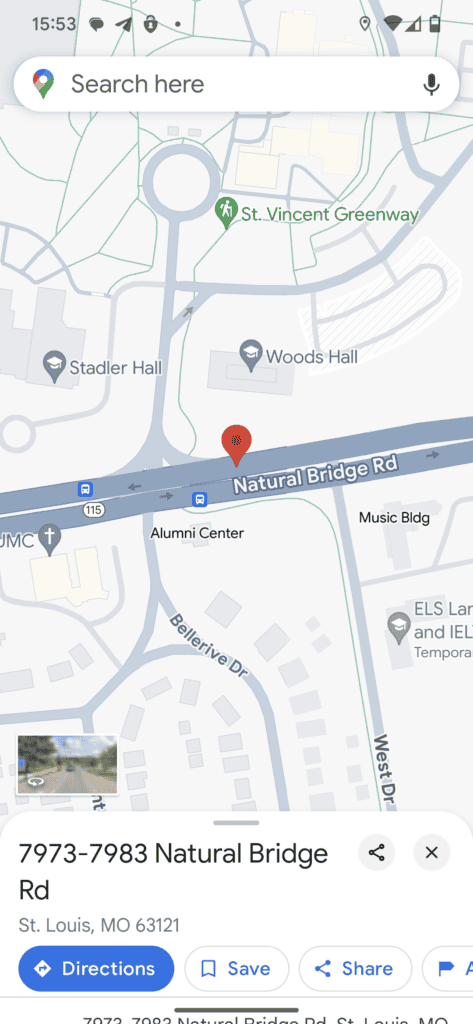
This button opens the stop address in the Google Maps app. Follow the standard Google Maps prompts to begin navigation.
Waze App Button
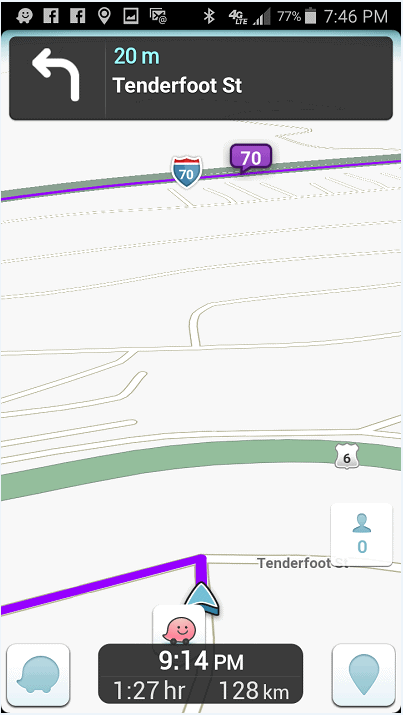
Waze is a popular navigation app for Android and iOS https://www.waze.com/ . You must first install the app on your device to use the respective app button.
2)
See this section of the User Guide for more information on managing mobile devices, mobile routes, completed stops, etc.
If you have questions contact RouteSavvy Support.
